
From concept to shelf: a practical custom-pouch checklist
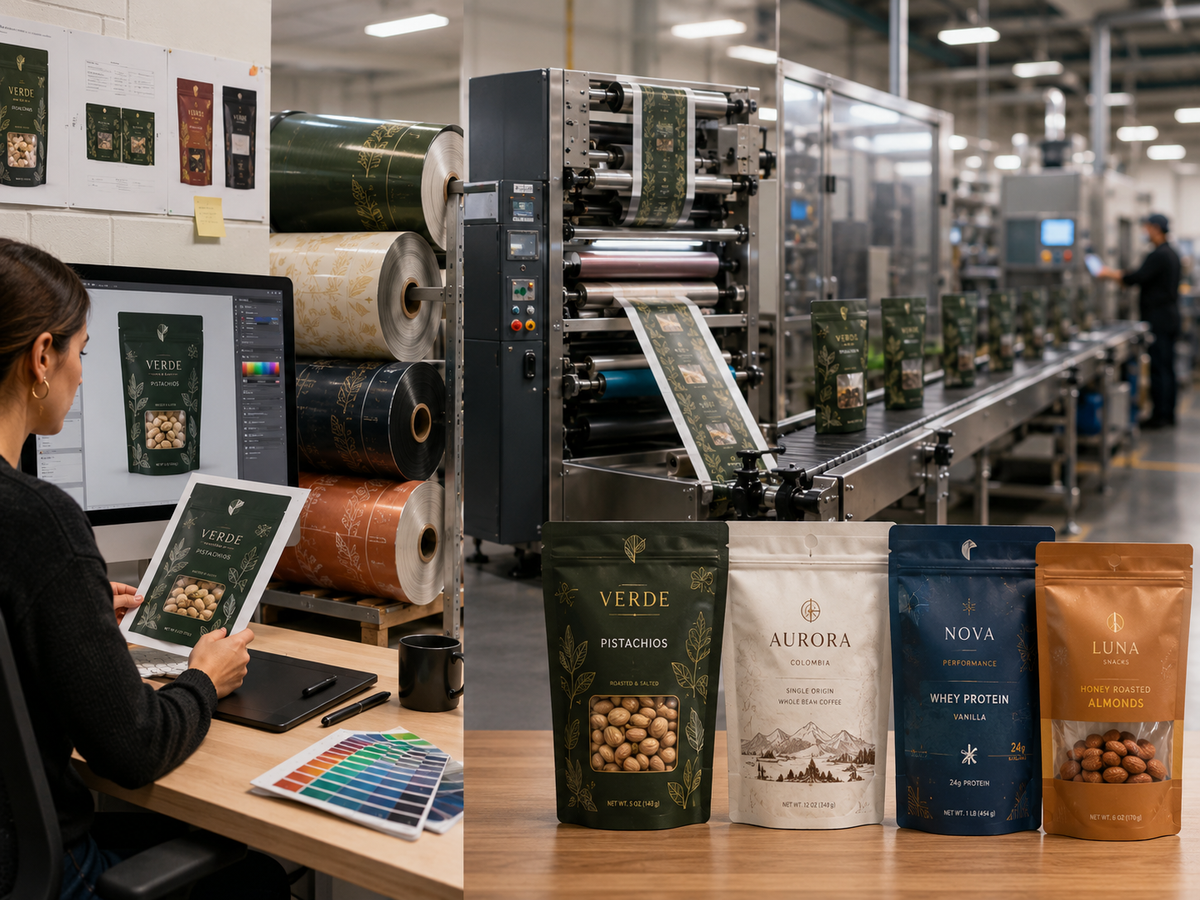
Start with the product and how you will pack it. Choose the pouch and artwork together so the design works around the actual fill, seals and opening.
1. Write a product brief you can actually use
Record the product, target fill amount, piece size or powder characteristics, storage conditions and selling environment. Include the filling and sealing equipment. Separate a measurable requirement, such as a shelf-life target, from a visual preference, such as a matte finish.
For example, a chunky trail mix can need more opening clearance than a fine seasoning at the same fill weight. Exterior dimensions and a product category name do not establish that both will fit the same pouch.
2. Choose the format around the filled package
PakMagik’s current finished-pouch range is stand-up and lay-flat. A stand-up pouch has a bottom gusset that opens into a base; evaluate whether the actual filled package stands as intended. A lay-flat pouch suits a project that does not need that standing base. Check the filled profile and the intended shelf, hook or secondary-package presentation.
Use the pouch size guide to compare current exterior measurements. Allow space for filling, headspace and the final seal. Trial the real product before treating a size choice as settled.
3. Confirm the material requirement, then the appearance
White, clear and metallized describe appearance; gloss and matte describe the finish. These names are not technical performance specifications. Identify the exact film construction and request relevant documentation for your product and intended use.
If the brief requires protection from oxygen, moisture or light, establish the requirement and evaluate the proposed construction against it. Don’t turn a metallic appearance into a shelf-life claim. Food-contact suitability and any certification also need evidence for the exact material and application.
4. Give each feature a reason to be there
A zipper helps the customer reclose the package; it does not replace the final production seal. A window requires clear film and the appropriate artwork and white-ink setup. A hang hole supports hook display, and availability varies with size. Choose the feature for the actual use, then check the linked selections in the configurator.
5. Build the artwork on the correct layout
Use the matching dieline without changing its dimensions or orientation. Check front, back and gusset panels, safe areas, windows and code placement. Read product names, quantities, ingredients and required information as carefully as you check the colors.
The current fulfillment artwork guidance calls for a CMYK PDF/X-1a:2001 file, outlined text, embedded images and placed raster artwork at 300 dpi. Follow the current instructions for the selected setup rather than inventing a bleed or safe-area measurement.
Prepare your artwork and ask for the exact template or window instructions if needed.
6. Understand what happens after the file
Our pouch fulfiller, The Packaging Lab, describes its process as printing a web of film, laminating and slitting it, then folding and sealing it into finished pouches. Its manufacturing overview explains the equipment sequence. PakMagik timing, shipping and artwork handling need confirmation for your particular order.
7. Keep print review and packing trials in the plan
A digital review can help find artwork mistakes. It cannot prove product compatibility, physical fit or sealing performance. Evaluate representative filled and sealed packages using the actual packing process. If rollstock is the better format, have the line operator confirm film specifications, width, repeat and unwind direction before finalizing artwork.
Your next useful step
Save the product brief, configuration and artwork together. Ask about any requirement outside the documented options before ordering. Build your pouch configuration when those practical decisions are ready.

